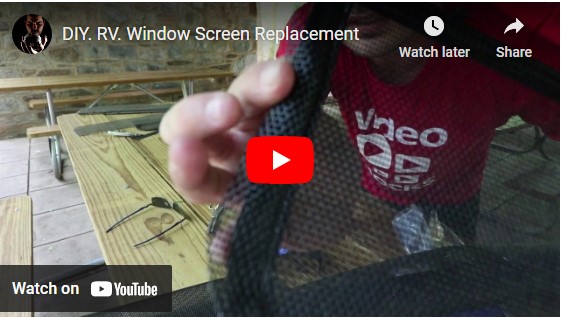
 It’s always refreshing to open your windows to the sight of the sea, mountains or the starry night sky. Your RV windows give you the best views anywhere you travel. You can also keep it closed at night so you’ll be warm and safe inside.
But what would you do if it’s a humid night? Opening the windows can be a good idea for letting that fresh breeze in, but what about bugs or pests? RV window screens act as both protection from pesky bugs and other outdoor pests, even if you have to open your windows at night. A lot of travelers swear by the importance of these RV parts.
That’s why you, as an owner must know how to replace and care for this important part of your RV.
Removing screens
Most often than not, you can skillfully detach the screen from your RV window. However, you may also choose to take off the window frame first, and remove the screen from it. It’s much easier than removing the screen while the frame is attached to the window hole. If you’re doing multiple replacements, label it up as you remove everything from the frames.
If your screen is damaged, remove the PVC splining first by using a screwdriver as you get the damaged screen off from the frame.
Don’t dispose of them just yet– keep them to measure their dimensions for the new trailer or van window screen installations.
Installing new ones

Remember that some new trailer or van screens may have to adjust to their new frames. Smoothen out the new screens and cut them in accordance to the old frame’s measurements.
For others, it might be easier to take the roll of screen and lay it onto the frame. Leave some inches over the frame’s edges to ensure a proper fit.
Now, PVC splining should do the trick for proper screen installation. Get these splinings into the dent of the frames and using a spline roller, push it down. This will lock the new screen to the frame firmly.
Cut off the excess of the screen and make sure it’s evenly smoothed out on your frame.
 Caring for your RV window screens
Window screens protect you from the uninvited bugs and critters outside while keeping your house well-ventilated. It will be needing weekly cleaning so it can do this work better.
Your RV window screens collect dust and dirt easily. They sometimes act as filters for air, dust and harsh elements that may enter your RV home. Cleaning should come as often as needed as there will be a change of the air’s humidity and elements as you travel.
Use a microfiber cloth for cleaning your screen– it doesn’t have to be that complicated. Simply dampen the cloth, and run it through your RV window screens. For extremely dirty ones, remove the whole frame and wash it with soap and water.
Proper maintenance for these RV parts is necessary. Make sure you know these simple installation instructions and RV window screens replacement so you can DIY it, especially in times of dire need.
Related: Simple Guide To RV Window Treatments & Coverings
For expert installation of RV windows, opt for the best in the market. Peninsula Glass is a brand that has been providing quality glass windows since 1975. Find the right one for you and talk to us today.
